Waters offers a comprehensive range of analytical system solutions, software, and services for scientists. Liquid Chromatography. Mass Spectrometry. Waters is the leading provider of lab equipment, supplies and software for scientists across the world. Easily research and order everything your lab needs! Waters offers a comprehensive range of analytical system solutions, software, and services for scientists. Liquid Chromatography. Mass Spectrometry. Waters is the leading provider of lab equipment, supplies and software for scientists across the world. Easily research and order everything your lab needs!
The primary and accumulator pump plungers and seals should be replaced to ensure reliable system performance, or whenever issues related to worn or damaged seals and plungers arise, such as: leak test failures, unstable pressure, and shifting retention times.
Use this procedure to replace the plunger and seals for both the primary and accumulator pumps.
Warning: Observe Good Laboratory Practice (GLP) at all times, particularly when working with hazardous materials. Consult the Safety Data Sheets regarding the solvents you use. Additionally, consult the safety representative for your organization regarding its protocols for handling such materials.
Warning: To avoid eye injury, use eye protection when performing this procedure.
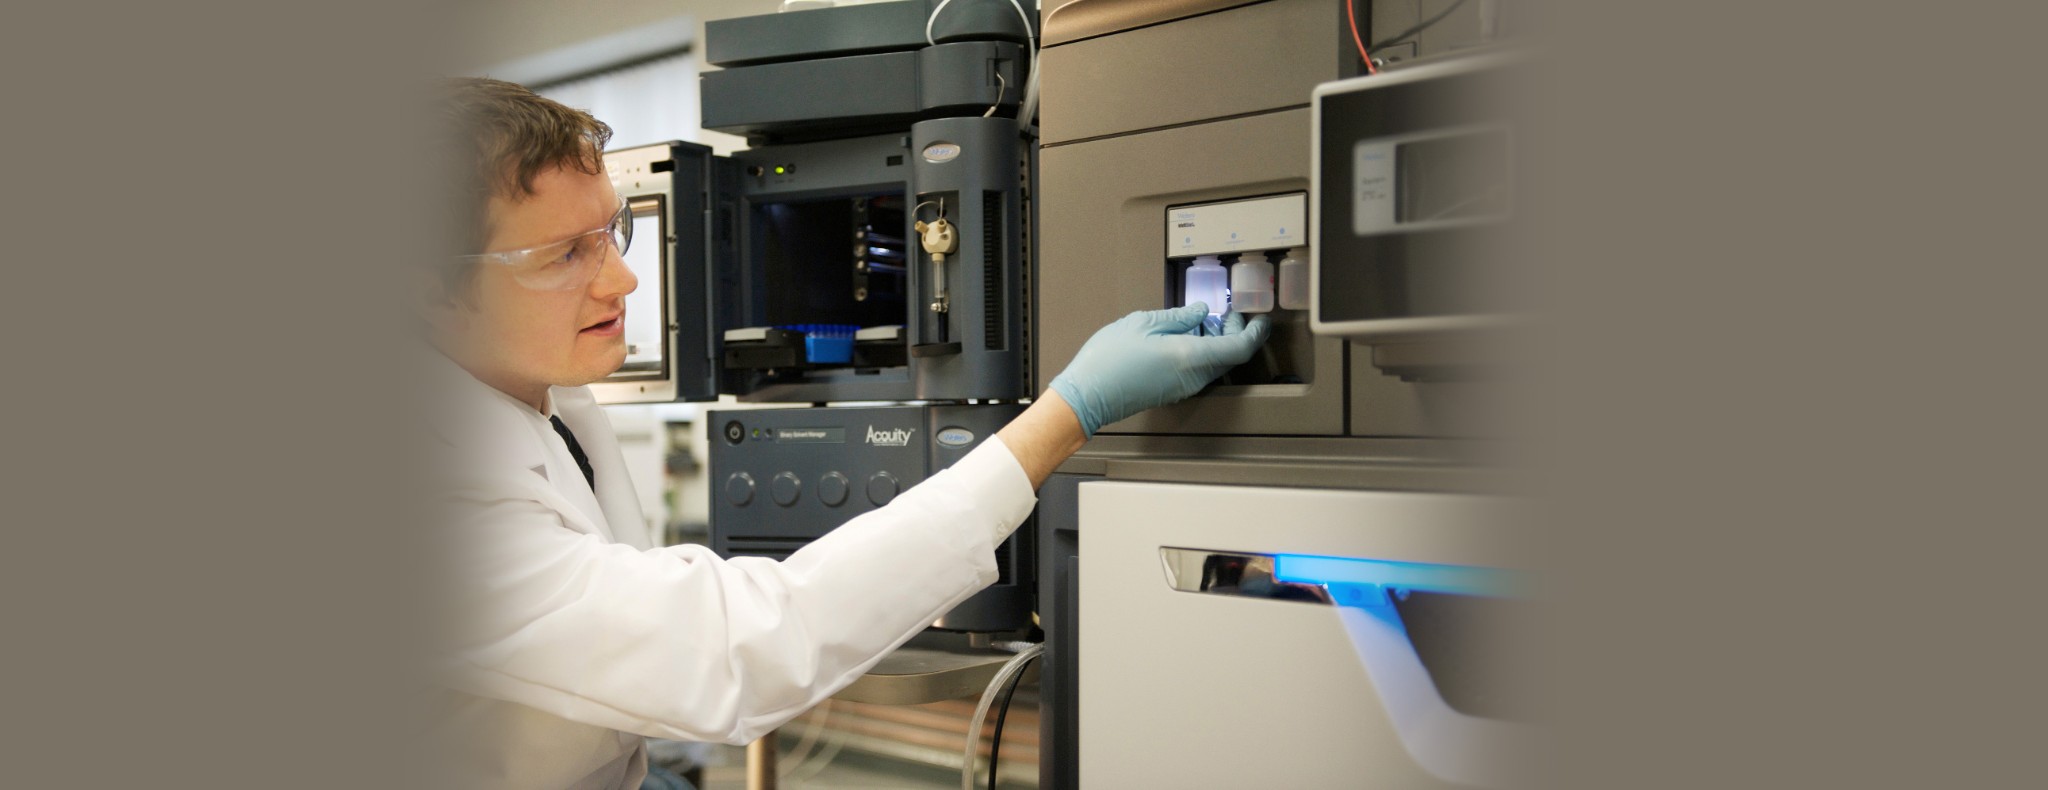
Note: To avoid contaminating system components, wear clean, chemical-resistant, powder-free gloves when performing this procedure.
Flush the pump with nonhazardous solvent that is miscible with the present mobile phase.
Move the pump head plunger backward.
Grip the seal wash tubes with needle nose pliers as close as possible to the pump head and pull slightly to disconnect them. Avoid stretching the seal wash tubes.
Figure 1: Seal wash tubes
Accumulator pump seal wash tubes
Primary pump seal wash tubes
For the primary pump only:
Loosen the PEEK inlet filter nut on the PEEK inlet filter fitting. Do not remove the nut from the fitting.
Figure 2: Loosening the PEEK inlet filter nut on the PEEK inlet filter fitting (primary check valve)
PEEK inlet filter fitting
PEEK inlet filter nut
Unscrew and remove the PEEK inlet filter fitting and PEEK inlet filter nut from the primary check valve.
For the accumulator pump only, use the 5/16-inch open-end wrench to hold the check valve cartridge in place and disconnect the tubing connection to the check valve with the 1/4-inch open-end wrench.
Figure 3: Location of accumulator pump check valve tubing connection
Check valve
Place the 5/16-inch open-end wrench here
Place the 1/4-inch open-end wrench here
Note: To avoid damaging electrical components and circuitry, do not disconnect an electrical assembly while electrical power is applied to a module. To completely interrupt power, set the on/off switch to the "off" position, and then disconnect the power cord from the ac source. Wait 10 seconds before disconnecting an assembly.
Continuing forward for both pumps (primary and accumulator): Disconnect the pressure transducer cable from the pressure transducer cable receptacle.
Figure 4: Pressure transducer cable connectors and receptacles
Accumulator pump pressure transducer cable
Primary pump pressure transducer cable
Use the 1/4-inch open-end wrench to disconnect the tubing connection on the bottom of the pressure transducer.
Figure 5: Pressure transducer tubing connections
Primary pump tubing connection
Accumulator pump tubing connection
Use the T27 TORX driver to loosen the two head bolts 1/2-turn each.
Note: Do not remove the head bolts until the entire assembly is removed from the actuator.
Figure 6: Pump head bolts
Primary pump head bolts
Accumulator pump head bolts
Use the T27 TORX driver to remove the two support plate bolts. Avoid rotating or twisting the pump head assembly,and gently pull the pump head straight off.
Figure 7: Support plate bolts
Primary pump support plate bolts
Accumulator pump support plate bolts
Figure 8: Removing the pump head and the support plate from the actuator housing
Support plate
Pump head
Plunger
Caution: Bending or twisting the sapphire piston shaft can cause it to fracture or splinter.
Locate the recessed side of the plunger removal tool.
Figure 9: Recessed side of plunger removal tool
Recessed side of plunger removal tool
Center the recessed side of the plunger tool on the collar, push it to the release collar inward, then remove the plunger.
Warning: Inspect the plunger for damage/cracks before removing it. If it is damaged, use gloves and a paper towel to grab onto the sapphire portion of plunger. Carefully remove and dispose of it properly.
Figure 10: Plunger removal tool on release collar
Spring-loaded release collar
Plunger
Plunger removal tool
Using the T27 TORX driver, completely loosen the head bolts to release the pump head from the support plate.
Figure 11: Location of head bolts
Head bolts
Support plate
Lift the pump head from the support plate.
Figure 12: Lifting pump head from support plate
Pump head
Seal wash housing
Support plate
Lift the seal wash housing from the support plate.
Figure 13: Lifting seal wash housing from support plate
Seal wash housing
Support plate
Remove the old seal wash seal from the seal wash housing and discard the old seal.
Figure 14: Seal wash seal
Seal wash seal
Seal wash housing
Note: To avoid scratching any metal surfaces, use care when screwing the threaded end of the seal removal tool into the plunger seal.
Taking care not to scratch any surfaces, screw the threaded end of the seal extraction tool into the plunger seal on the reverse side of the seal wash housing, and then carefully withdraw the plunger seal and back-up ring.
Figure 15: Plunger seal location in seal wash housing
Plunger seal and back-up ring
Seal ID
Use a dental pick or sharp tool to remove the O-ring.
Note: To avoid scratching any metal surfaces, use care when using a sharp tool to remove the O-ring.
Figure 16: O-ring location in pump head
O-ring
Inspect the seal wash housing surface and pump head surface, verifying that both are free from scratches and particulates.
Lubricate the o-ring gland with methanol and press the o-ring into the o-ring gland with your gloved thumb.
Figure 17: O-ring pressed in o-ring gland
O-ring
Pump head
Spray the new plunger seal with the can of compressed air to remove any particulates.
Important: To avoid contaminating the new plunger seal with particulates, oil, or water, do not spray the seal with unfiltered compressed air.
Lubricate the gland for the high pressure seal with methanol and gently press the spacer into the seal wash housing with the soft side of your gloved thumb.
Figure 18: Installing plunger seal spacer
Plunger seal spacer
Seal wash housing
Lubricate the gland for the high pressure seal with methanol and gently press the plunger seal into the seal wash housing with the soft side of your gloved thumb.
Figure 19: Installing plunger seal
Plunger seal
Plunger seal spacer
Seal wash housing
Orient the seal wash housing so that the ports on its side align with the clearance holes on the side of the pump head, and then guide it over the pump head mounting screws.
Figure 20: Installing seal wash housing in pump head
Raised surface
Seal wash housing
Pump head
Clearance hole
Seal wash port
Spray the new seal wash seal with the can of compressed air to remove any particulates.
Important: To avoid contaminating the new seal wash seal with particulates, oil, or water, do not spray the seal with unfiltered compressed air.
Lubricate the new seal wash seal with methanol and place it in the seal wash housing with the soft side of your gloved thumb.
Figure 21: Installing seal wash seal in the seal wash housing
Seal wash seal
Seal wash housing
Place the support plate on top of the pump head, ensuring that the round side of the plate is oriented toward the bottom side of the head.
Figure 22: Placing support plate on pump head
Round side of support plate
Bottom side of pump head
Holding the assembly together, use the T27 TORX driver to tighten the two head bolts until they bottom out, then back the screws out 1/8 turn.
Figure 23: Location of head bolts
Head bolts
Support plate
Recommendation: Replace the plunger whenever you replace the plunger seal.
Flip the pump-head assembly over and lubricate the seals with methanol.
Figure 24: Pump-head seals
Pump-head seals
Carefully insert the plunger shaft into the pump head until the stainless steel shaft is bottomed out in the support plate.
Requirement: Ensure that the shaft does not make contact with the support plate.
Figure 25: Inserting plunger shaft into pump head
Plunger shaft
Support plate
Note: To avoid damaging the plunger, ensure that the pump head assembly is not tilted relative to the actuator housing when you position it on the mechanism.
Carefully slide the head assembly and plunger into the actuator housing, ensuring that you do not to tilt the head.
Figure 26: Installing the support plate with pump head and plunger onto the actuator housing
Support plate
Pump head
Plunger
Note: To guarantee that the support plate is tightened evenly, alternately tighten the support plate screws 1/4-turn so that they are uniformly torqued.
Hold the pump head assembly securely against the actuator housing, and then use the T27 TORX driver to securely tighten the support plate bolts.
Figure 27: Support plate bolts
Primary pump support plate bolts
Accumulator pump support plate bolts
Use the T27 TORX driver to alternately tighten the head bolts so that they are uniformly torqued.
Figure 28: Pump head bolts
Primary pump head bolts
Accumulator pump head bolts
Connect the pressure transducer cable connector to its receptacle on the front of the module.
Figure 29: Pressure transducer cable connectors and receptacles
Accumulator pump pressure transducer cable
Primary pump pressure transducer cable
For the primary pump only, screw the PEEK inlet filter fitting and PEEK inlet filter nut onto the primary check valve and tighten them.
Figure 30: Tightening the PEEK inlet filter nut on the PEEK inlet filter fitting (primary check valve)
PEEK inlet filter fitting
PEEK inlet filter nut
For the accumlulator only, use the 5/16-inch open-end wrench to hold the check valve cartridge in place and reconnect the tubing connection to the check valve with the 1/4-inch open-end wrench.
Figure 31: Location of check valve tubing connections
Check valve
Place the 5/16-inch open-end wrench here
Place the 1/4-inch open-end wrench here
Continuing forward for both pumps (primary and accumulator):reattach the tubing fitting to the transducer, tighten it with your fingers to the extent possible, and then use the 1/4-inch open-end wrench to tighten the fitting an additional 1/6-turn (for existing fittings) or 3/4-turn (for new fittings).
Figure 32: Pressure transducer tubing connections
Reinstall the seal wash tubing on the barbed fittings on the seal wash housing.
Figure 33: Seal wash tubes
Accumulator pump seal wash tubes
Primary pump seal wash tubes
On the touchscreen, tap Health > Troubleshoot, tap the pump icon , and then tap System Leak Test.
Tip: If the leak test results are unsatisfactory, pressurize the seals to properly seat them. To do so, run the pump at 58,605 kPa (586 bar, 8500 psi) for 30 minutes, or run the leak test until results are satisfactory.
Follow the remaining on-screen prompts to run a system leak test.
To avoid risk of personal injury and to prevent damage to laboratory equipment, always operate your Waters products in accordance with the applicable operational and safety information, your organization’s standard operating procedures, and local regulations.


 , and then tap